

The Ultimate Cozy Setup: DIY Bedroom Projector Shelf
What you need: Pallet Wood, 2x4s, or a thrifted shelf, Sanding Blocks, Stain/Sealant, L Brackets (check your local thrift store!),Screws, drywall anchors, a level, a pencil, a hammer, and a drill.

[Total Cost: under $10.00 using thrifted items and salvaged wood.]
Side Note: I typically like to do a renter friendly DIY that doesn't require drilling, but for this project, you will have to make holes in the wall and that’s okay! You can just fill them later (it’s super easy!)
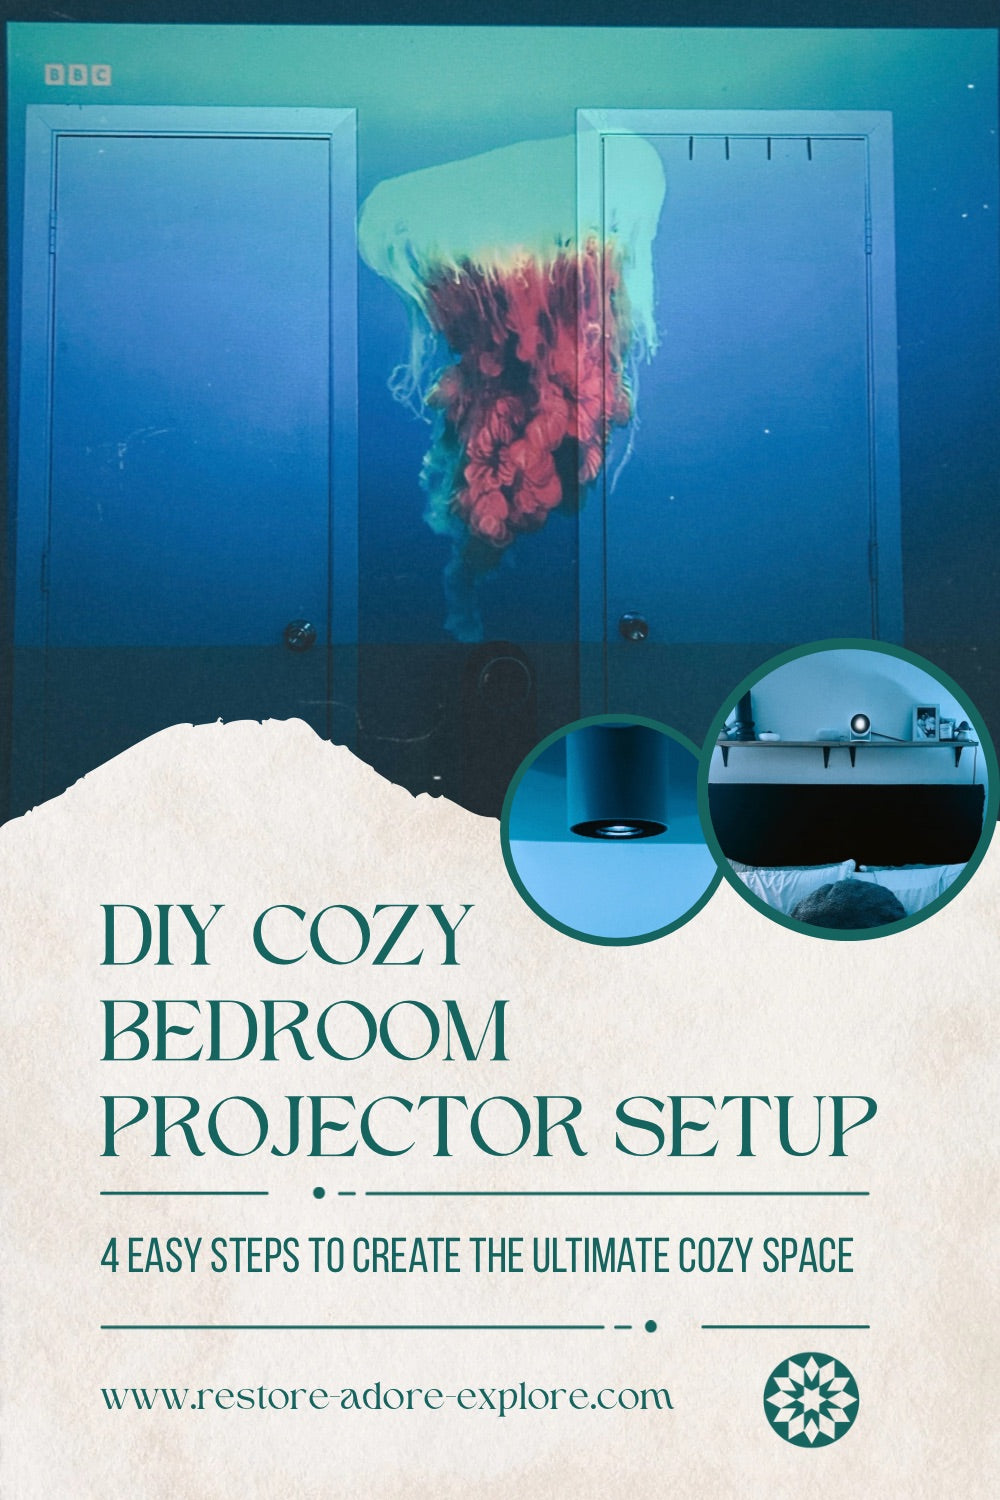
After finishing our DIY Headboard, my next goal was to build a shelf above it to hold our little projector. We don’t have a TV in our bedroom, but sometimes we just want to snuggle up and watch something cozy in bed. (awww).
Anyways, we bought the projector as an alternative to tv because it’s compact, easy to hide away, and just fits better with the feng shui of the room. Plus, a projector is so versatile. You can aim it at the wall, the ceiling, take it camping or on vacation. It moves with you!
Step 1: Source your wood.

My boyfriend brought some pallets from work that were gonna be thrown away (he knows me well). The pallets were in great condition, and I knew the wood could be salvaged for this project! After measuring the space, I figured I’d need two pieces.
Taking apart pallets is the tricky part, but it’s doable. There are a few methods:
- You can saw them (but you’ll lose length)
- You can try prying them apart (but risk stripping the wood).
- Or, you can use a good ol’ hammer and crowbar to gently remove the boards and nails.
We went with the third option. It took a little time and effort, but it was worth it! (Pallet wood can be used for so many projects!)

Tip: If your boyfriend isn’t bringing home pallets (lol), you can usually find some being sold very cheap or even for FREE on facebook marketplace. I would also recommend checking out your local thrift store, I am always seeing old shelving and random pieces of wood that can be reused as well!
Step 2: Sanding and Staining

Sanding and staining the wood help to protect it and give it a more finished, uniform look that blends with the rest of the room. That said, you can totally skip this step if you’re into a more natural, rustic vibe.
Before I purchase any new tools/materials, I always check my DIY supply bin. There’s no need to purchase new items when you can just reuse the ones you have! (My boyfriend calls me a hoarder but hey, I am always prepared when we need something).
Luckily, I had some old sanding blocks and some stain/sealant from a previous project.
I sanded all sides of the boards to avoid any splinters, then used a old rag to apply the stain.
I let each side dry completely before flipping.
Step 3: Hanging the Shelves

As renters, we try to avoid drilling into walls whenever possible. But after some trial and error, we realized there was no way around it for this project.
Side note: In my experience, filling holes is usually easier than to fix damaged pain. Every landlord is different, but this has worked for me!
At first, we tried attaching small hanging brackets (like the kind used for picture frames) to the shelves and using curved wall hooks (our go to no drill method). This method worked for us in the past, but this time, the hooks were too large and caused the shelf to tilt down. So, this was not a viable option, especially since it would be hanging over our heads.
So we went back to the drawing board. I ended up choosing simple black L-brackets that matched the look I was going for. (I would have preferred floating shelves, but you can’t win ‘em all.) We attached the brackets to the wood first, then marked the wall for placement. Don’t forget to use a level! You can’t always trust your eyes (learned that the hard way). We used drywall anchors to secure the brackets. This is super important when you're hanging something heavy, and especially when you’re hanging something above a bed.
And finally… the shelves were up!
Final Step: Style & Setup

Now came the fun part: styling the shelves and setting up the projector.
The projector fit perfectly in the center. I ran the cord down the back and plugged it into an extension cord tucked right behind the headboard. I couldn’t conceal the cord fully, but that is okay! (It still looks tidy.)

I synced it up with a small Bluetooth speaker to boost the sound quality. Once everything was adjusted and looking good, it was ready for our next cozy night in.
To finish the look, I styled the shelf using things we already had around the house. I kept it minimal. I didn’t want there to be too much weight on the shelves, but I also wanted to keep the room feeling calm and uncluttered. As someone who values feng shui, I wanted it to feel intentional and peaceful.

Now we have the perfect setup for rainy days, movie marathons, or just curling up with each other and a good show. :)


At R.A.E, we love projects like this that blend beauty, function, and sustainability. Don’t forget to pin to your DIY board and follow us on Social Media for updates on our next DIY Project!